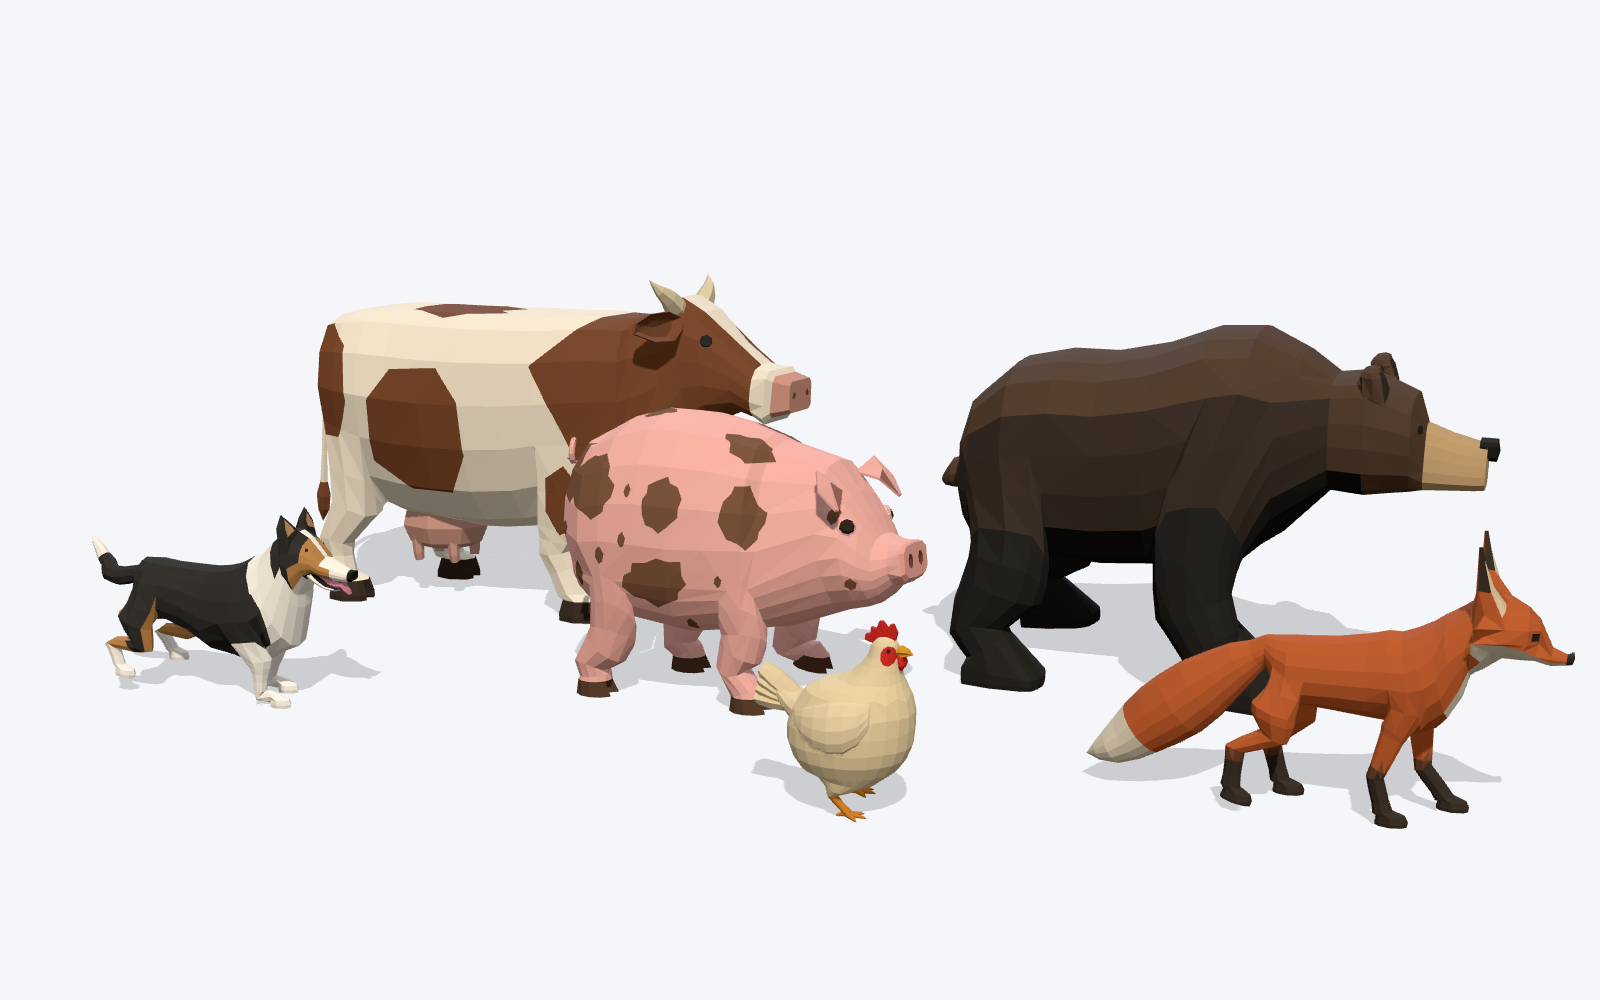
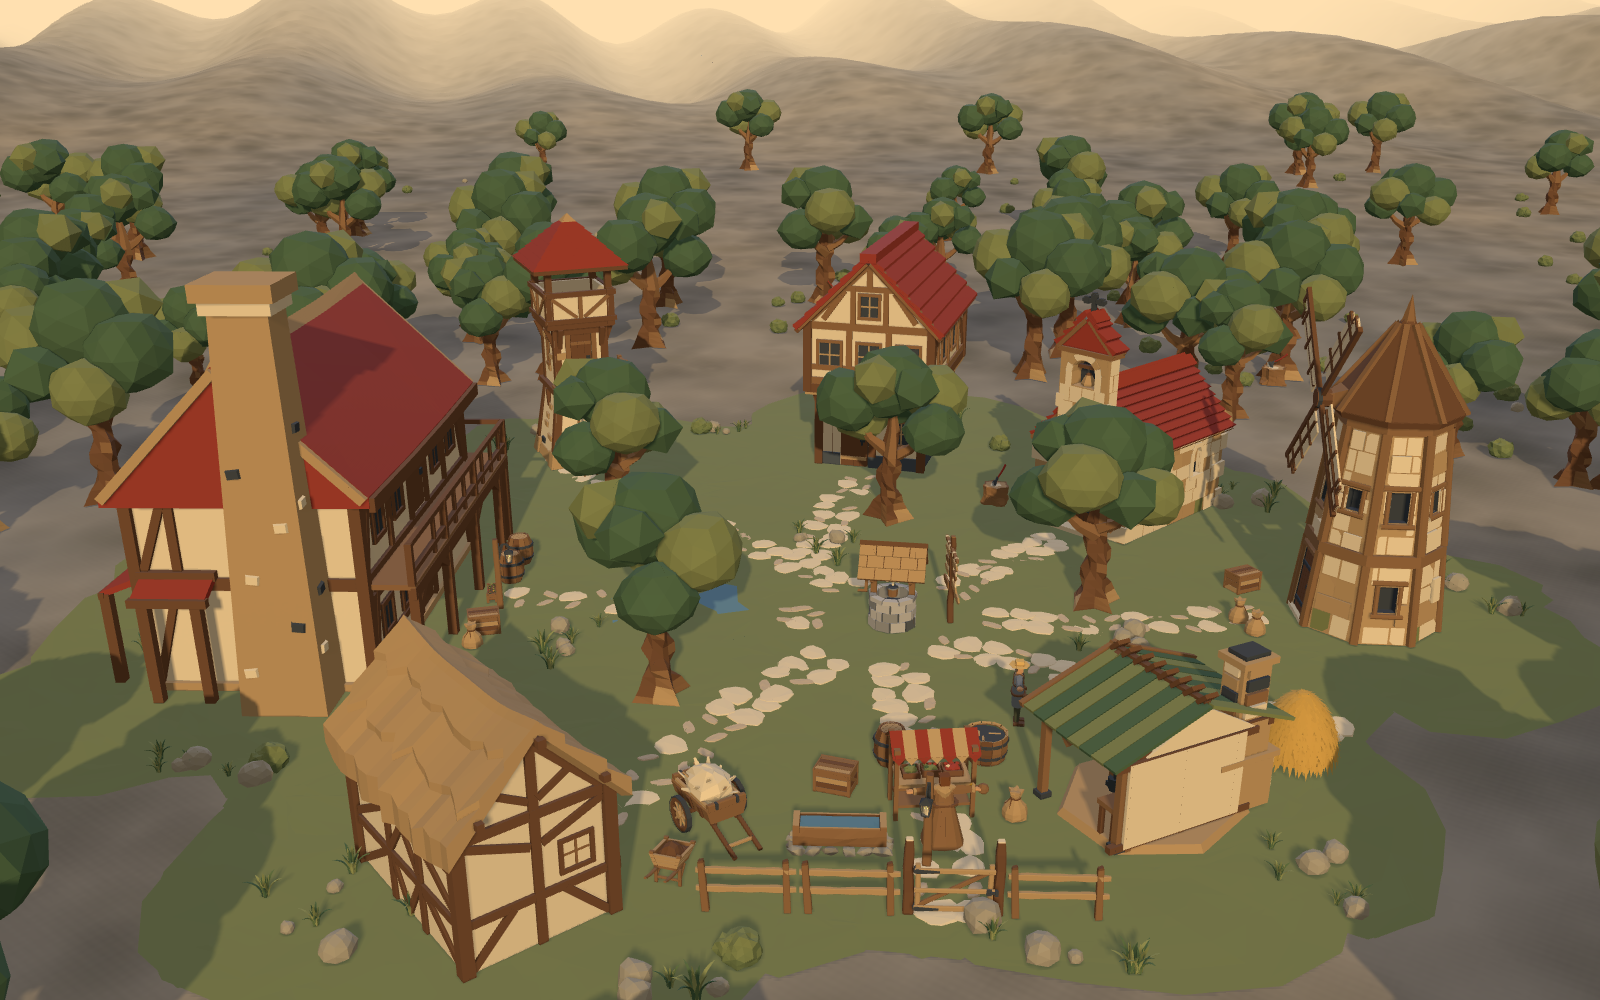
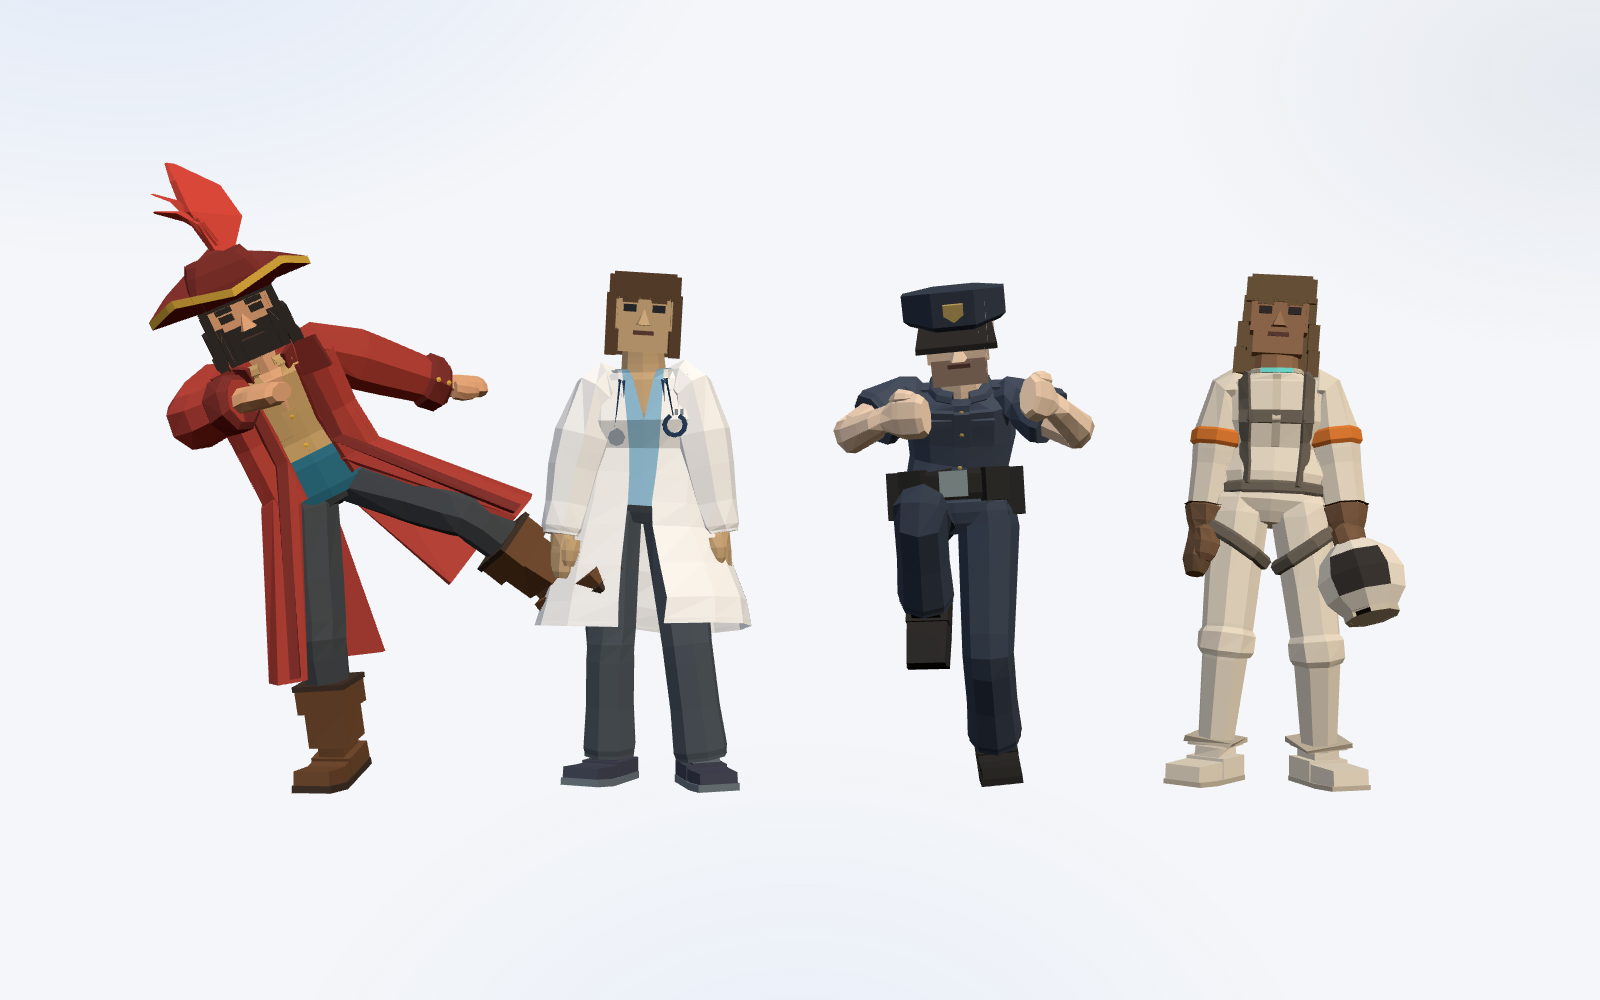
We put seven shader looks on every model. Here is how each one works.
Palette, toon, outline, underwater, dither, pixelate and PS1 wobble, on any model in the catalogue and free to try. This is how each effect is built in Three.js, and which of them can end up in your .glb.
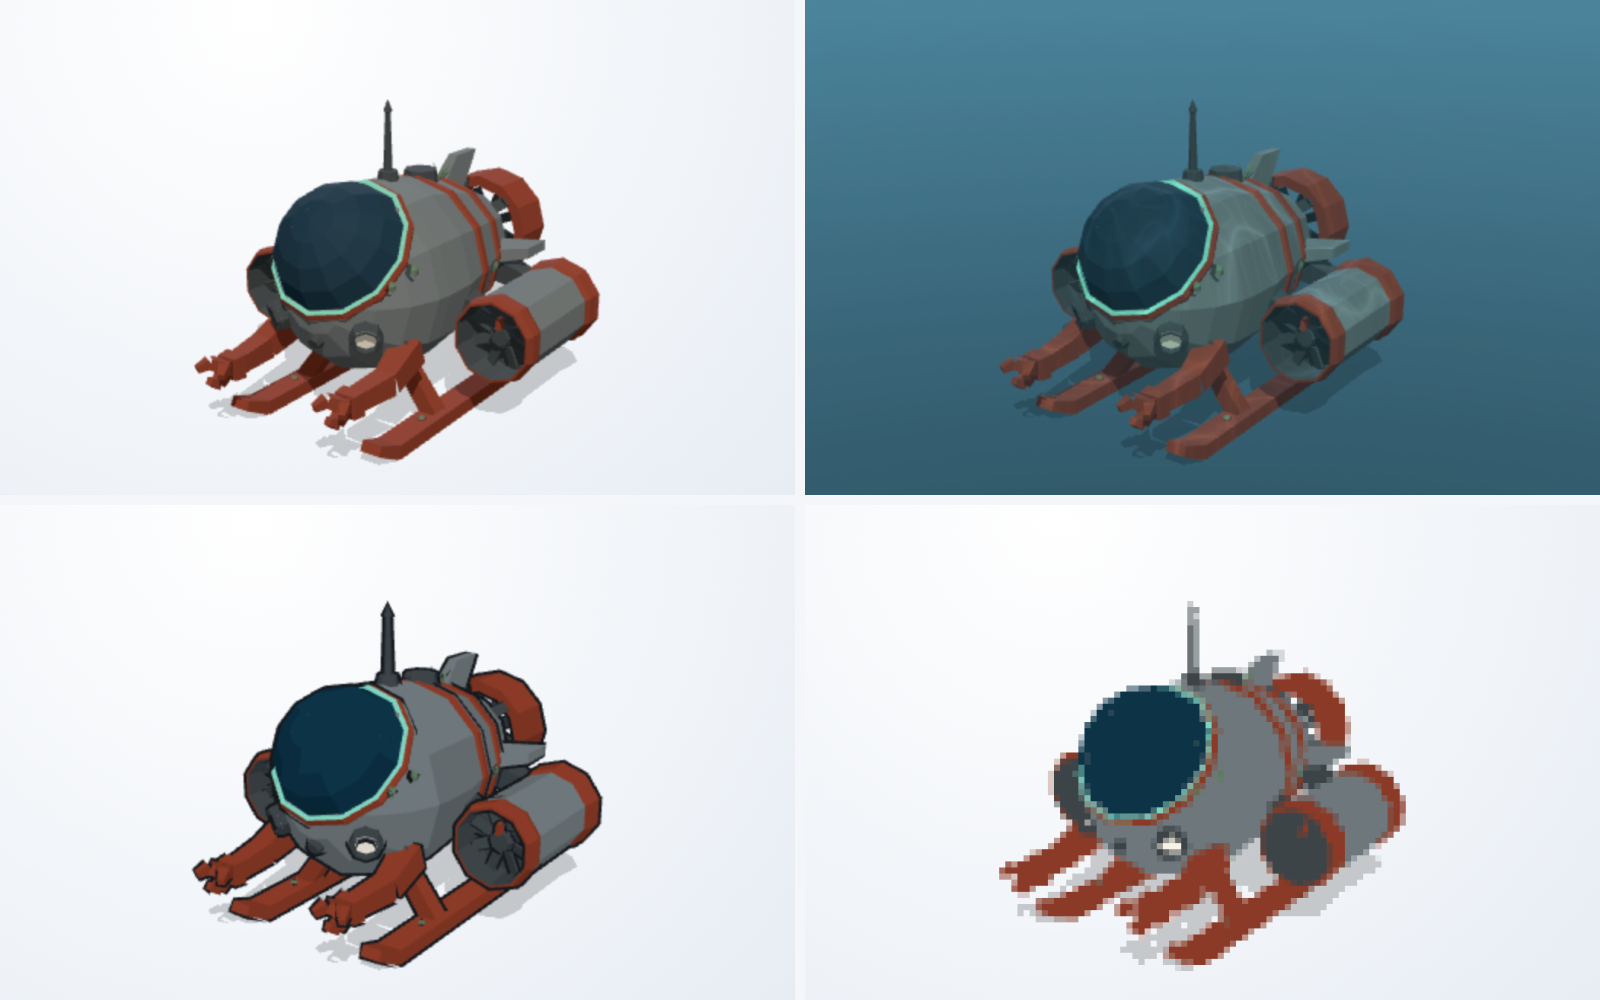
Every model on Polyfork can now be restyled from its own page. Seven looks (palette reduction, toon and flat shading, outline, underwater absorption with moving caustics, dithering, pixelation and PS1 wobble), free to try on all 1,766 published models, with no account. See them side by side on the Three.js shaders page, or open any model and use the column to the right of the viewer.
The rest of this post is how each one is built, because none of it is secret and most of it is a good exercise.
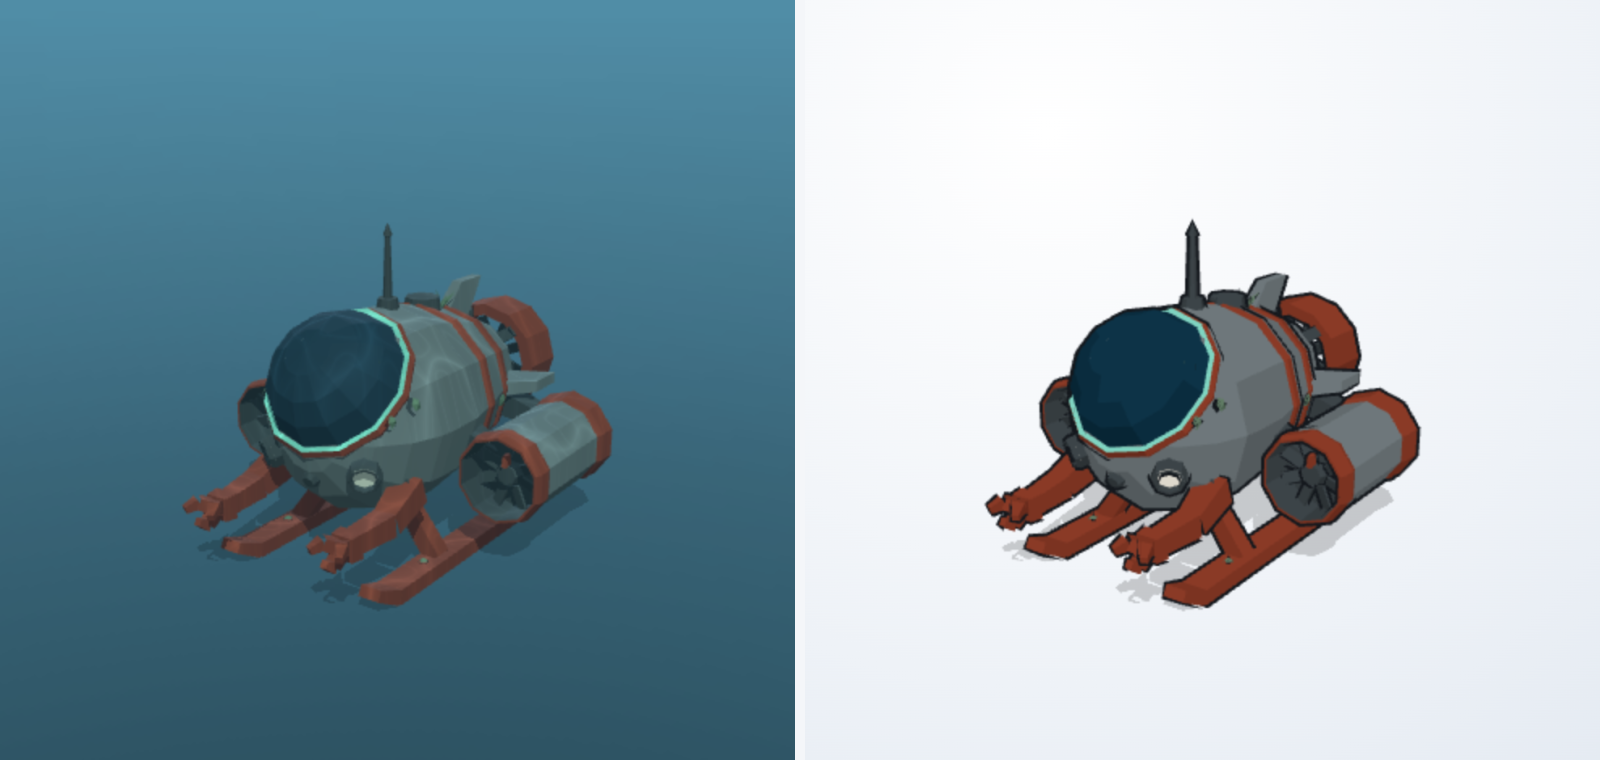
water: reef, eight metres down. Right is flatten: toon with outline: px2, the thinnest of the three widths. Neither touches the model's geometry or its vertex colours, and neither survives a .glb export."Add a shader" is three different jobs in Three.js, and picking the wrong one is most of the difficulty. You can patch a material, so the effect belongs to one model and rides along with it. You can add a full-frame pass with EffectComposer, which styles the whole picture including the background. Or you can change a renderer setting, which is not a shader at all but often gets you what you wanted more cheaply.
Below is which of those three each look is, and a question most tutorials never raise: whether any of it can end up in the file you hand to Unity or Blender.
First: can a shader be saved?
No, and it is worth being clear about why, because it decides your whole approach.
glTF describes geometry, materials and animation. There is nowhere in the format to put a fragment program. So a dither, an outline pass or a pixelation setting cannot travel in a .glb — they exist while your page is drawing and nowhere else.
What can travel is anything a shader would have computed that you bake into the file first. Vertex colours are the obvious one, and material flags are the other. Reduce a model's palette by rewriting its COLOR_0 attribute and the reduction is in the file. Switch it to an unlit material and glTF has a standard extension for exactly that, KHR_materials_unlit.
So of the seven looks below, two survive an export and five do not. If your target is a game engine rather than a web page, that distinction is the first thing to check.
Palette reduction
The simplest of the seven, and one of the two that exports, because it never touches a shader at all: rewrite the COLOR_0 attribute so every vertex takes the nearest colour from a small set.
The only real decision is what "nearest" means. Do it by Euclidean distance in RGB and you will get matches that are arithmetically closest and visually wrong, because RGB distance has almost nothing to do with perceived difference. Convert to a perceptual space first — OKLab is compact enough to write inline and behaves well:
const l = Math.cbrt(0.4122214708*r + 0.5363325363*g + 0.0514459929*b);
const m = Math.cbrt(0.2119034982*r + 0.6806995451*g + 0.1073969566*b);
const s = Math.cbrt(0.0883024619*r + 0.2817188376*g + 0.6299787005*b);
const L = 0.2104542553*l + 0.7936177850*m - 0.0040720468*s;   // then A, B
Match in that space and pick your palette honestly: a fixed hardware palette will mangle anything it was not designed for. The Game Boy's four greens contain no red at all, so a red object has nowhere to go. Reducing a model to fewer of its own colours is usually the more useful operation.
Toon and unlit shading
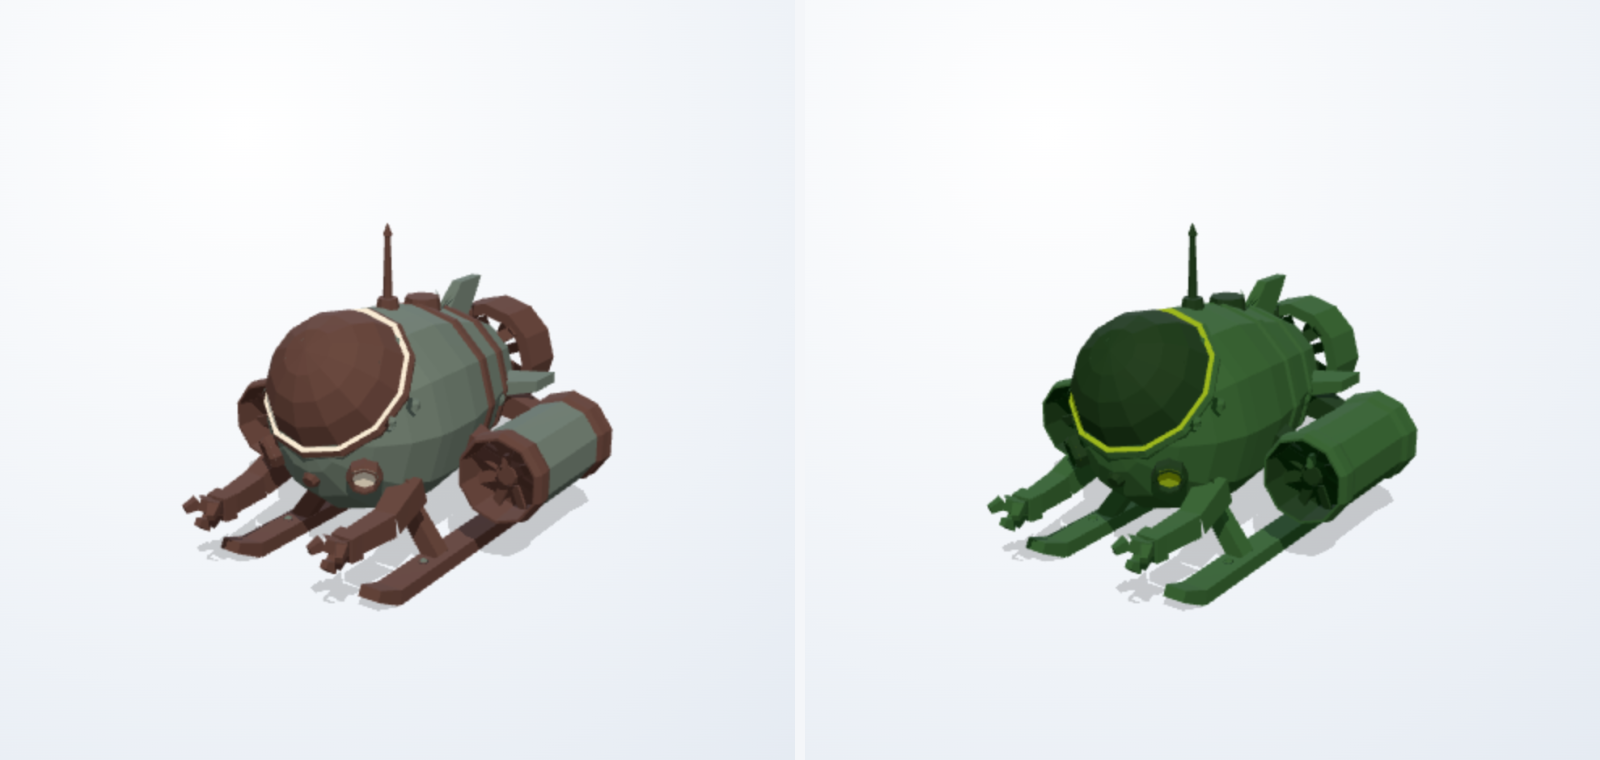
Cel shading quantises the lighting term into a few hard bands instead of a smooth ramp. Three.js ships MeshToonMaterial for this, with an optional gradient map controlling the steps.
The caveat nobody mentions: it does very little on flat-shaded geometry. If your material has flatShading: true, every face already renders as one flat tone, so banding a mosaic that is already a mosaic mostly just removes the small tonal differences that were making the form readable.
On that kind of model the effect people actually want comes from going further, not halfway. Drop the lighting model entirely so each face shows its pure albedo:
const unlit = new THREE.MeshBasicMaterial({ vertexColors: true });That is one line, it costs less than what it replaced, and GLTFExporter writes it as KHR_materials_unlit, so it opens correctly elsewhere. Add an outline and you have what most people mean by cel shading. On flat-shaded low-poly, the outline is doing the work, not the bands.
Outlines with an inverted hull
The standard trick: duplicate the mesh, push every vertex out along its normal, and draw only the back faces. The copy shows where it sticks out past the silhouette and is hidden everywhere else.
const hull = new THREE.Mesh(geometry.clone(), new THREE.MeshBasicMaterial({
  color: 0x14181d, side: THREE.BackSide,
}));
Two things decide whether it looks right.
Use smoothed normals for the extrusion. Hard-edged models carry a different normal per face, so at a cube corner three faces push three different directions and the hull tears open with a gap at every corner. Accumulate one normal per unique position first and extrude along that, even if you keep flat shading for the visible model.
Put the width in pixels. An offset in world units is invisible on a large model and swallows a small one, and a fraction of the model's size has the same problem in reverse: what actually sets a good outline is how big the thing looks. Offset in view space instead, scaled by depth:
// in the vertex shader, after gl_Position exists
float d = 2.0 * uPixels * max(-mvPosition.z, 1e-4)
        / max(uViewportH * projectionMatrix[1][1], 1e-6);
mvPosition.xyz += hullNormal * d;
gl_Position = projectionMatrix * mvPosition;
Depth-independent on screen, and with no field-of-view constant to keep in sync, because projectionMatrix[1][1] is 1 / tan(fov / 2).
Ordered dithering
Dithering trades spatial resolution for colour resolution: quantise each pixel to a few levels per channel, and offset the threshold with a screen-space pattern so the average stays correct even though no single pixel is.
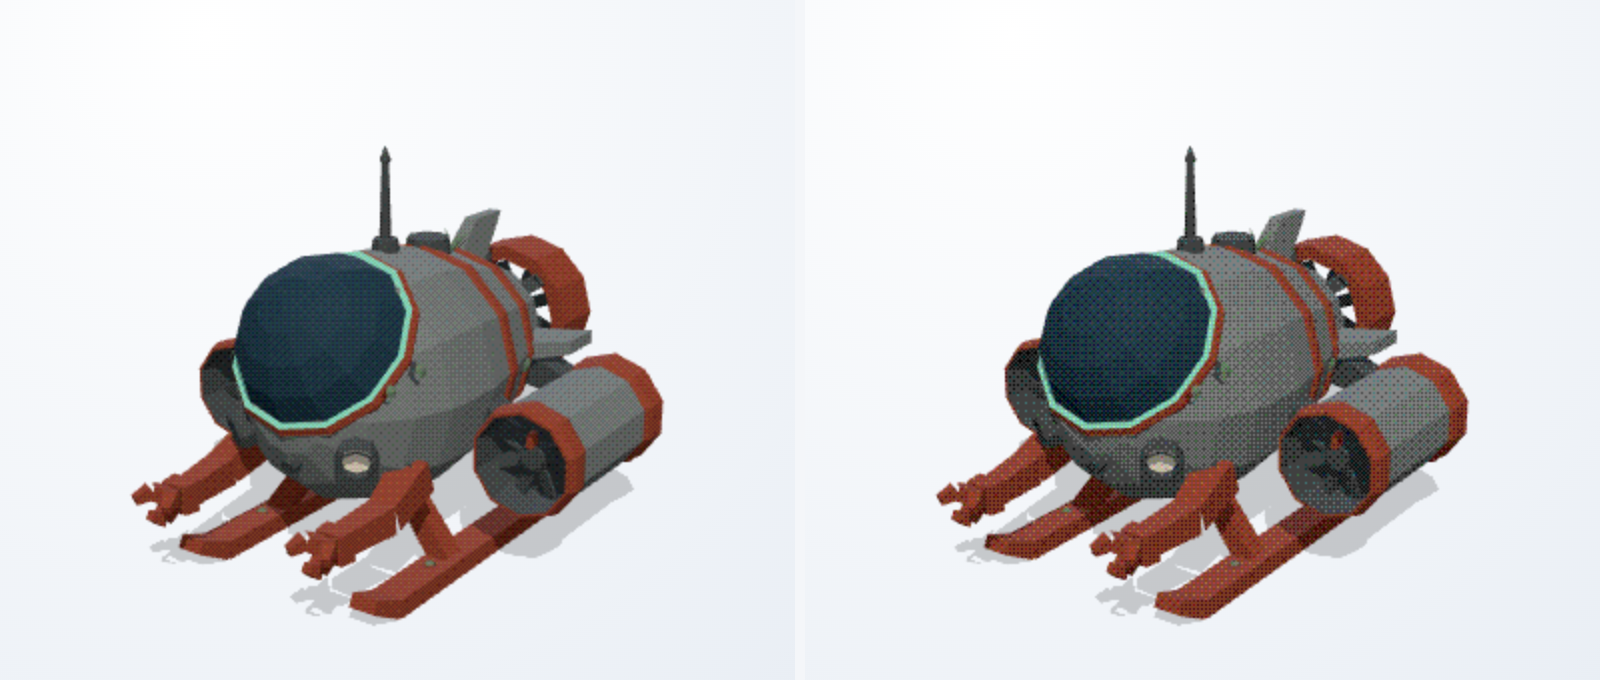
You do not need a post-processing pass. Patch the material's fragment shader at #include <dithering_fragment>, which is the last chunk in both the basic and standard shaders and sits after the colour-space conversion — so you are working on the final sRGB value, which is where dithering belongs. Dither in linear space and the steps bunch up in the shadows.
float t = bayer8(mod(gl_FragCoord.xy, 8.0));
gl_FragColor.rgb = clamp(floor(gl_FragColor.rgb * LEVELS + t) / LEVELS, 0.0, 1.0);
Two practical notes. Keep LEVELS at four or more: at two, every pixel lands on a corner of the RGB cube, so a brown surface dithers between red and olive — the average is still right but no pixel is a colour your model uses, and it reads as damage. And dithering only looks deliberate once the cells are big enough to see, which usually means pairing it with the next one.
Pixelation, without a post-processing stack
The tempting approach is a render target and a downsample pass. You rarely need it. Draw into a smaller buffer and let the browser scale it back up:
renderer.setSize(w / 4, h / 4, false);      // false: leave the CSS size alone
renderer.domElement.style.imageRendering = 'pixelated';
Keep the factor an integer so whole pixels land on whole pixels, and set camera.aspect from the display box rather than the buffer. This is the one effect that makes rendering cheaper: a quarter-scale buffer is a sixteenth of the fragments.
PS1 vertex snapping
The console had no sub-pixel precision in its rasteriser, so projected vertices landed on a coarse grid and geometry visibly swam as the camera moved. Reproducing it means snapping in clip space, after the projection:
if (gl_Position.w > 0.0) {
  vec2 grid = vec2(SNAP * aspect, SNAP);
  gl_Position.xy = floor(gl_Position.xy / gl_Position.w * grid + 0.5) / grid * gl_Position.w;
}
Snapping the mesh once in world space instead gives you a permanently mangled model rather than the wobble, because the wobble is the projection changing. Keep the grid coarse but not too coarse: below roughly 64 cells, models with coplanar surfaces start tearing themselves apart, which is authentic to the hardware and not usually what you want.
Underwater, which is three effects wearing one name
The newest one, written for a coral reef kit whose parts are all modelled dry: the contract for that kit forbids every part from carrying its own water, on the grounds that the scene should supply it. Which leaves the renderer to. It is worth pulling apart because most of what people mean by "underwater shader" is only the third piece.
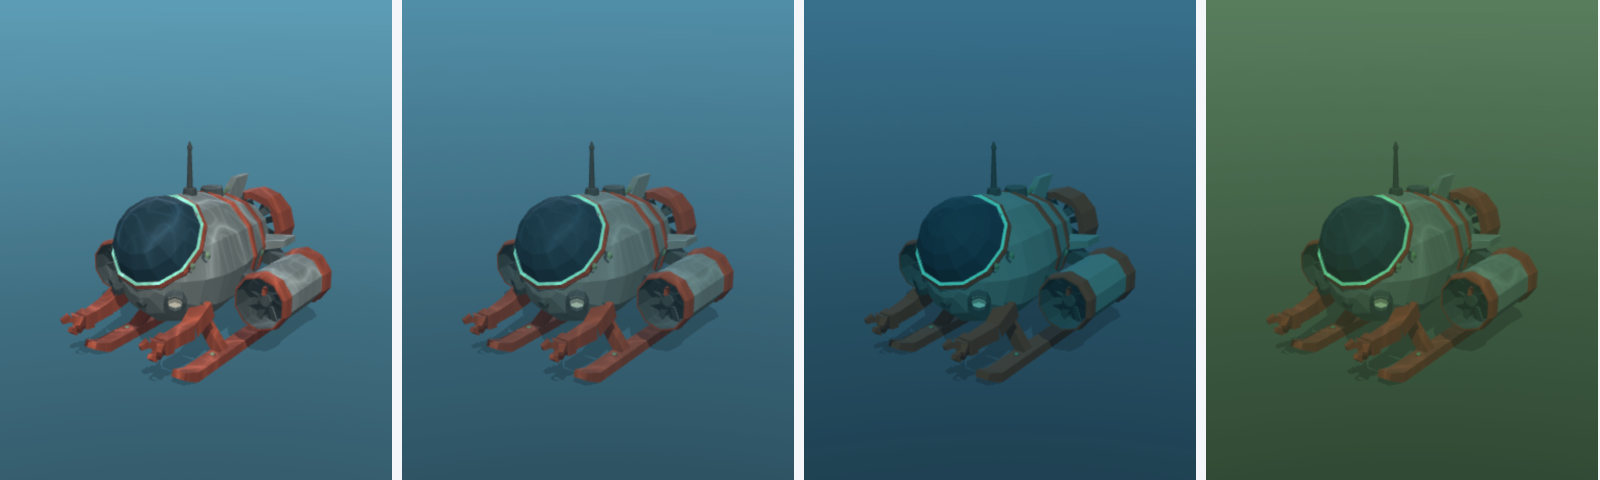
Absorption is the one that reads, and it is not a blue tint over the picture. Water swallows light exponentially and swallows red roughly ten times faster than blue, so what you want is exp(-sigma * distance) with a different sigma per channel. Blue survives because it is the last one left, not because anything was tinted:
const vec3 SIGMA = vec3(0.26, 0.048, 0.026);   // per metre, roughly ocean water
vec3 transmit = exp(-SIGMA * pathLength);
There are two path lengths and they add. Light goes surface → object → eye and is absorbed on both legs, and each buys you a cue people recognise instantly. The downward leg depends on how deep the fragment is, which makes the top of a coral head measurably lighter than its base. The view leg depends on how far away it is, which makes a whole scene wash out to open water with distance — fog, without any fog to tune.
Hook it at #include <opaque_fragment>, the opposite end of the shader from the dither. That is where gl_FragColor first exists and is still linear, before tonemapping and the colour-space conversion. Absorption multiplies light, so it has to happen in light; do it after the colour space and the channel ratios come out wrong, with red dying far too slowly.
There is a camera in it, and pretending otherwise makes it unusable. Straight physics at 25m leaves about half the blue and a thousandth of the red, which is a black model. Real eyes and real cameras correct on two axes, so correct on both — partially:
float mx  = max(max(t.r, t.g), t.b);
vec3  adj = pow(t / mx, vec3(0.55))   // white balance: pull the cast back
          * pow(mx, 0.35);            // exposure: keep a little of the dimming
Skip the white balance and any saturated colour olives out in two metres of water, because any red loss at all drops red below green. Keep it and a snorkelling shot still has orange in it, which is what a snorkelling shot looks like.
Caustics are the moving net, and they are the part everyone starts with. Three sine gratings at incommensurate angles with one cheap domain warp, ridged where the waves cancel rather than where they peak, because a caustic is a thin bright line around a dim cell:
vec2  q = p + 0.3 * vec2(sin(p.y * 1.7 + t), cos(p.x * 1.6 - t));
float v = (sin(q.x * 2.1 + t) + sin(q.y * 1.9 - t) + sin((q.x + q.y) * 1.5 + t)) / 3.0;
float c = pow(clamp(1.0 - abs(v), 0.0, 1.0), 8.0);
No texture, which means nothing to load and nothing to tile visibly across forty metres of seabed. Sample it in world XZ in metres so the cells are the same size on a 0.4m coral and a 12m wreck, and scale it by how much the surface faces up. For that last part, do not trust the normal attribute if your models are flat-shaded — take the geometric normal from the derivatives of the world position, which is what flat shading does anyway and works on MeshBasicMaterial too, where there is no lit normal to borrow:
vec3 n = normalize(cross(dFdx(worldPos), dFdy(worldPos)));
if (dot(n, cameraPosition - worldPos) < 0.0) n = -n;   // face the camera
None of it exports, and this one is not a near miss: both path lengths are functions of where the camera is standing. The same coral is a different colour from two metres and from twenty, and there is no buffer you could write that into.
Patching a material safely
Five of the seven above are material patches, done through onBeforeCompile. Two habits make that survivable:
material.onBeforeCompile = (shader) => {
  shader.fragmentShader = shader.fragmentShader.replace(
    '#include <dithering_fragment>', myReplacement);
};
// Without this every instance compiles its own program.
material.customProgramCacheKey = () => 'my-dither-4';
And if you are chaining onto a material that already has a patch, call the previous onBeforeCompile first rather than replacing it. Assets often arrive with one already installed — ours carry wind sway that way — and overwriting it silently removes a feature nobody will connect to your change.
Trying them
Every model in our catalogue can be restyled from its own page, free and with no account, on all 1,766 published models. The two that bake into a file can also be requested directly:
/cdn/{id}-remix.glb?look=palette:gameboy,shading:toonwhich returns a real .glb with the palette rewritten and an unlit material, ready for Unity, Godot or Blender.